How to Build a Raised Garden Bed in 10 Easy Steps
Raised bed gardening is a great way to grow your own food, attract birds and butterflies, create a gathering spot for friends & family or a quiet space to relax and enjoy the beauty and bounty of Mother Nature. There are many ways to build a raised garden bed, a variety of materials that can be used, and endless design possibilities. In this Sustainable Wood Story, we'll share how to make a basic garden box that is simple to build with common tools and basic carpentry knowledge in 10 easy steps.
Step 1: Choose your location. For growing vegetables, the location of your garden box should get at least 6 hours of sun and be in close proximity to a water source.
Step 2: Measure the space available. Be sure the intended space has enough room to work around the box so you can tend and harvest your vegetables.
Step 3: Select the material. Restoration Juniper is our favorite wood for garden box material. It is rugged, durable, naturally beautiful, and far more rot resistant than redwood, cedar, or fir, based on ongoing studies by Oregon State University. It is a nontoxic alternative to pressure treated lumber for organic gardening.
Our Juniper is sourced from grassland & watershed restoration efforts. Its removal is improving fragile ecosystems, and purchases of Restoration Juniper support a network of mills and small businesses throughout our region. This sourcing also means a variety of character from piece to piece. Juniper trees are not grown and groomed for making lumber, so some consideration for its inherent natural characteristics should be part of the overall planning.
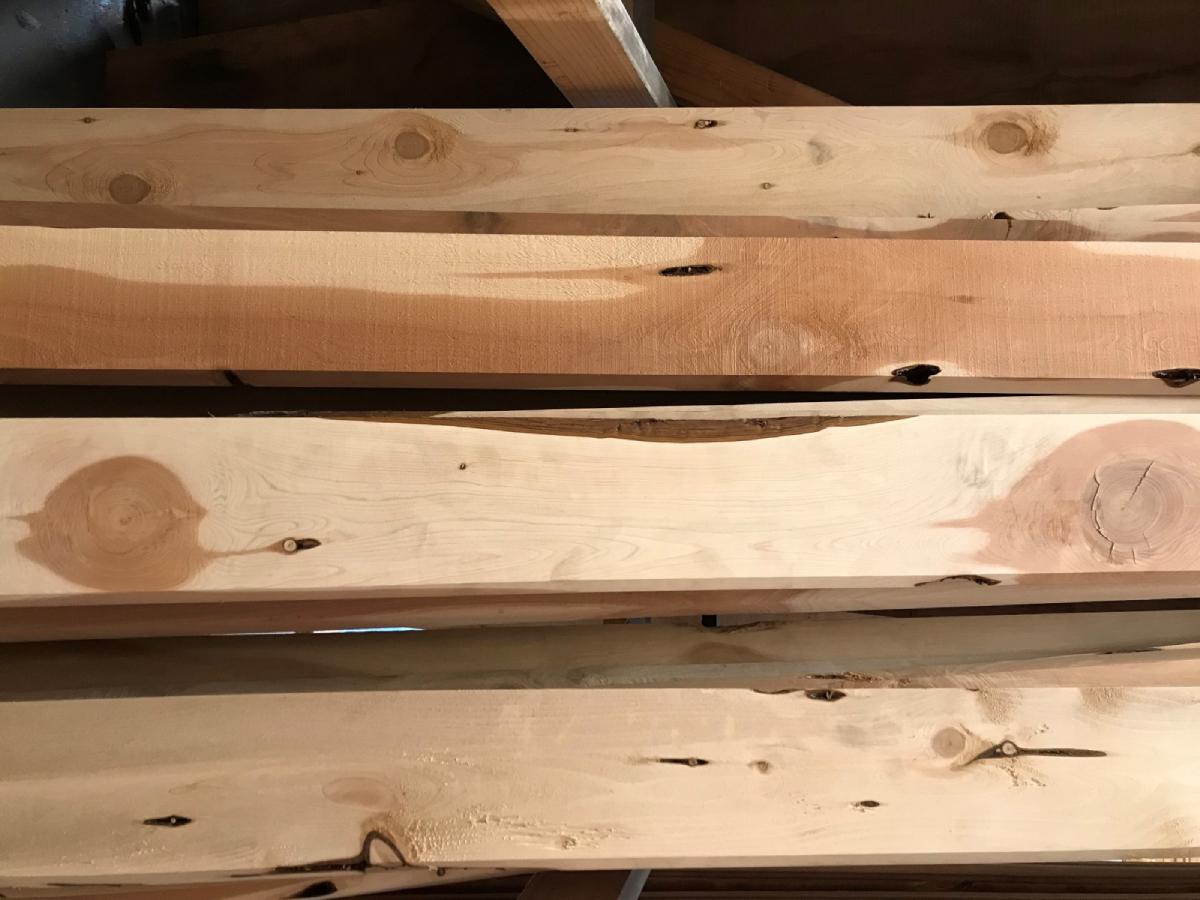
Noteworthy to mention: This material is a full sawn rough lumber, meaning the 2x6 are true dimension 2" x 6" and not "nominal dimension" (1.5" x 5.5") like a lot of common wood products. This makes for a sturdy, long lasting garden box.
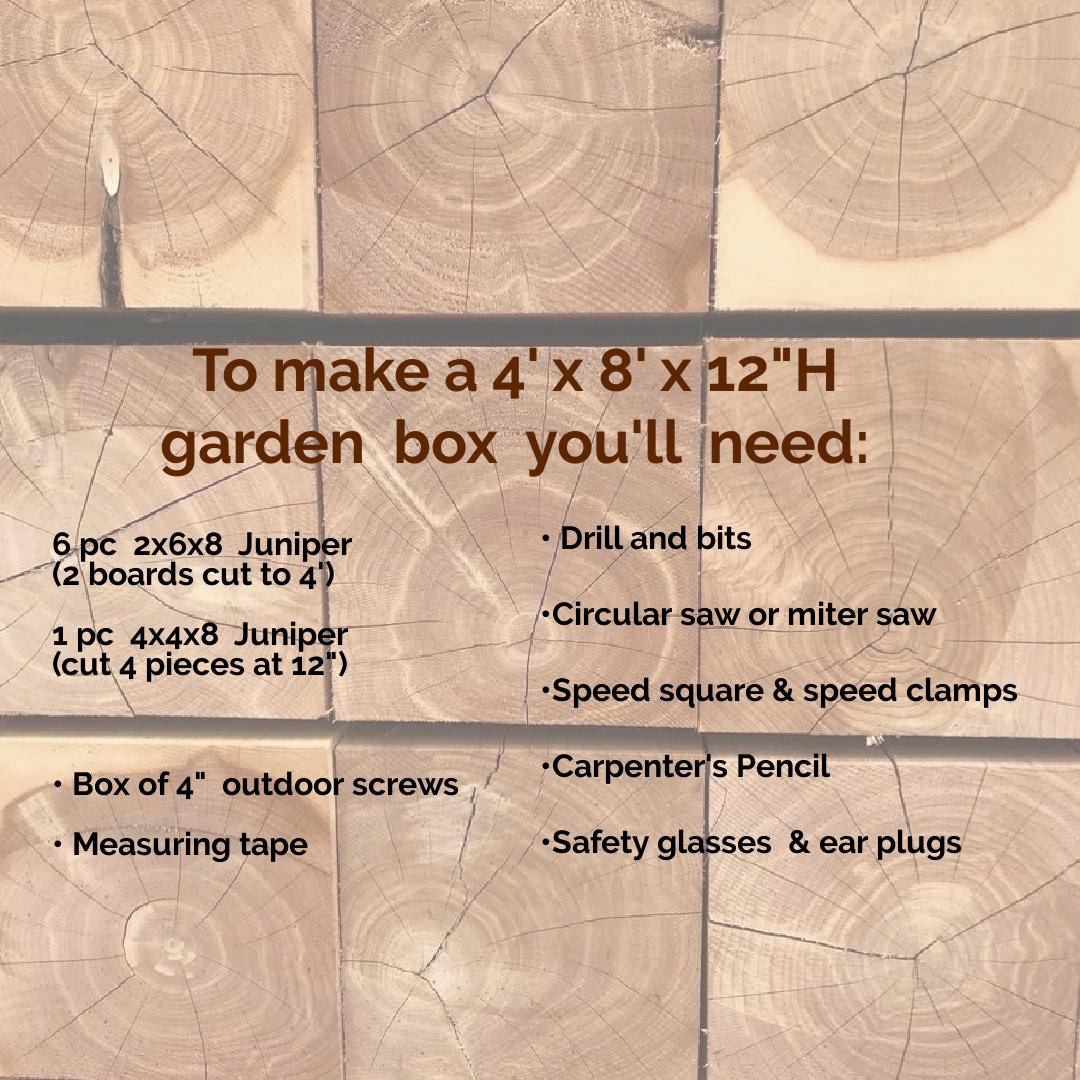
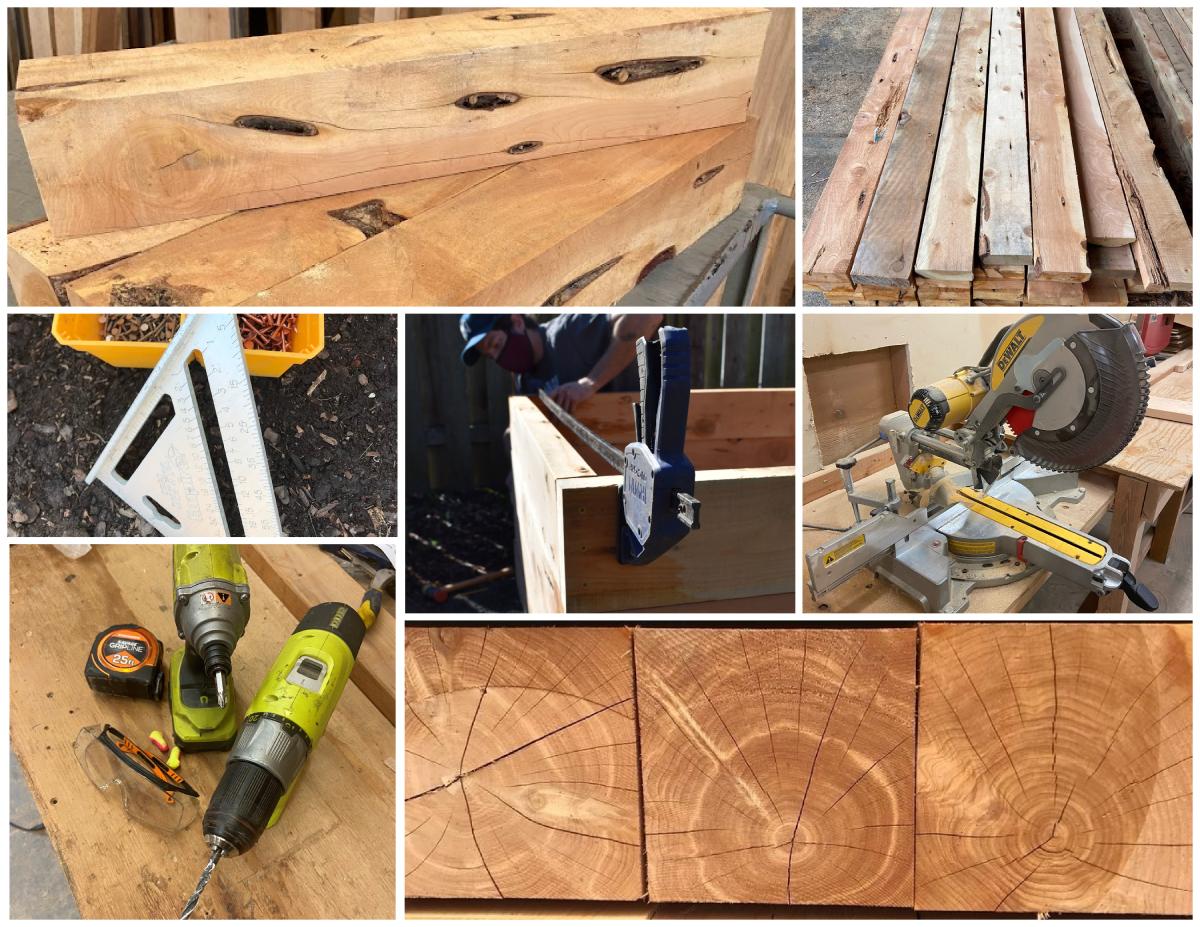
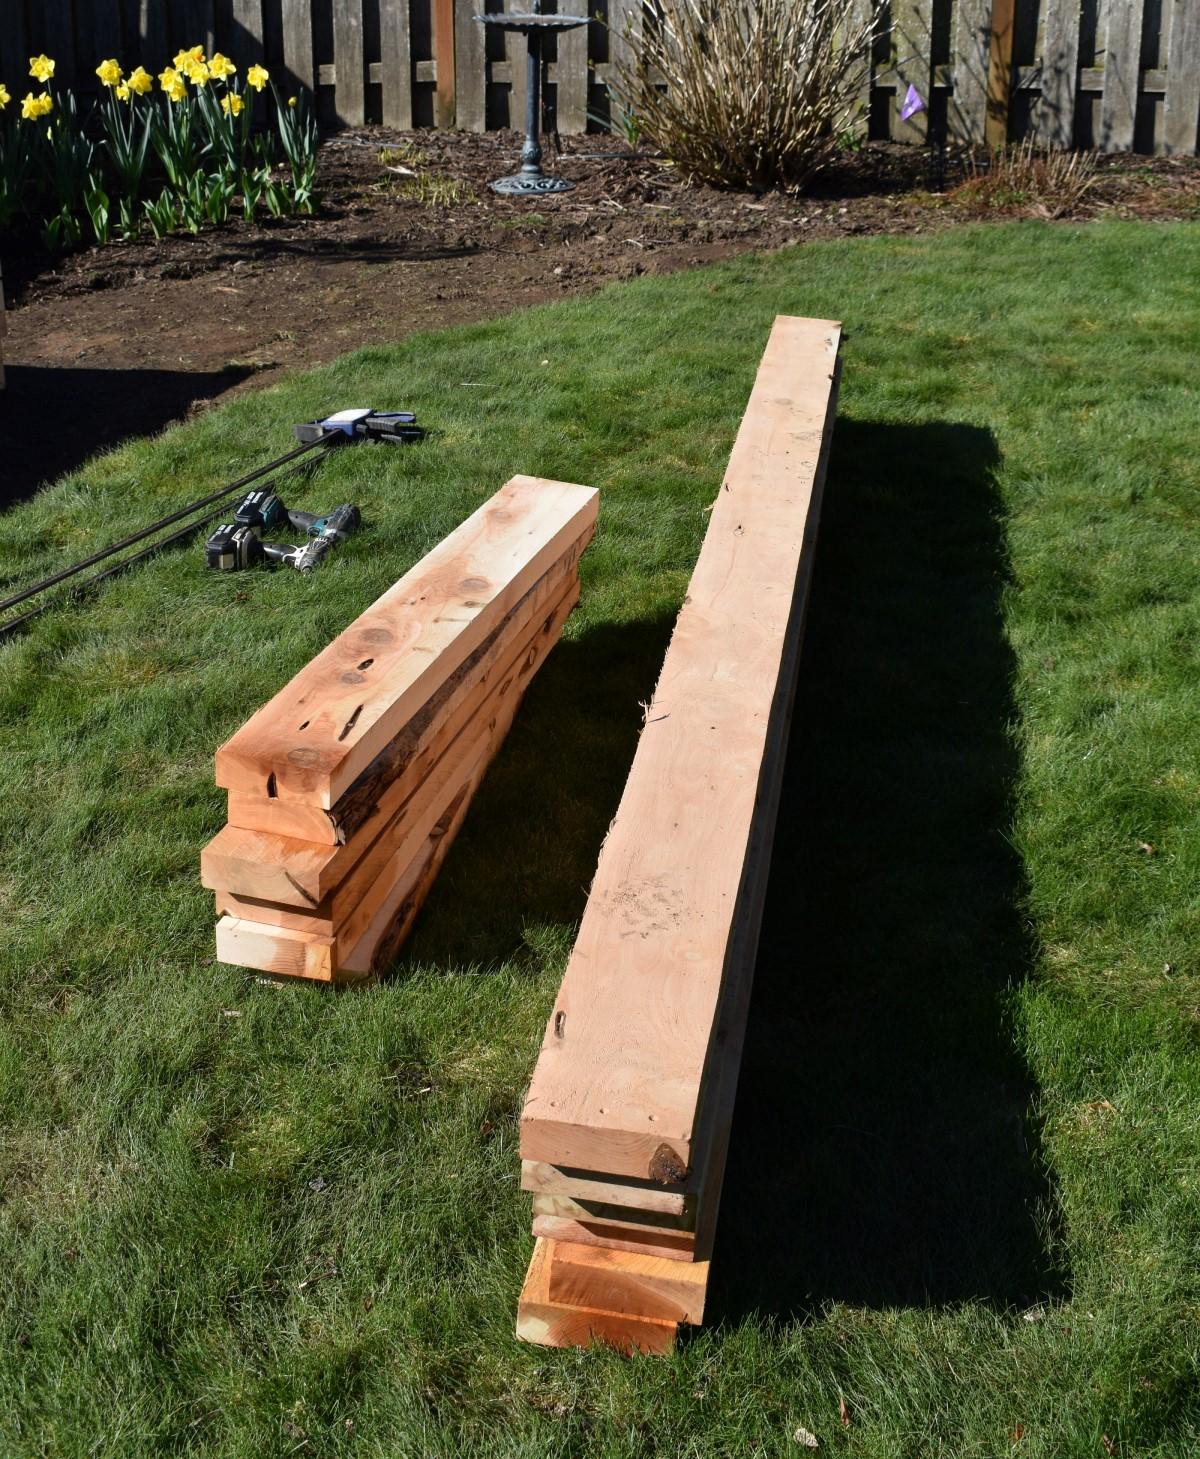
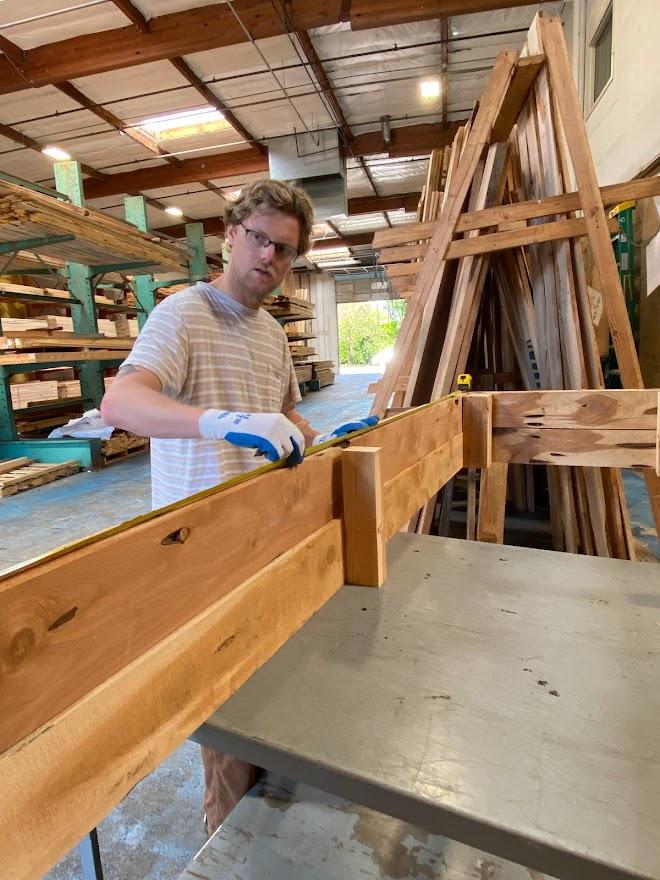
Step 4. Gather your tools and materials for the project. You'll find Restoration Juniper at Sustainable Northwest Wood in SE Portland. (click here for DIRECTIONS to our woodyard ) Juniper is widely varied from piece to piece, so when selecting the individual pieces of wood, consider the overall character, knots, voids, bug trail and bark inclusion that is inherent in this material to incorporate the natural beauty into your garden box. You will want to flip the boards and look at each side to determine which to face outward.
Step 5. Pre-cut the boards for a quick assembly.
- Cut (2) 2x6x8 in half to 48” for the short ends of the beds. It's a good idea to trim the ends of the boards to make them nice and square.
- Cut (1) 4x4x8 into (6) 12” pieces - one for each of the corner support posts and two to stabilize center of the bed. You could opt for Simpson ties at your favorite hardware store or thinner bracing for the center to save room in the bed.
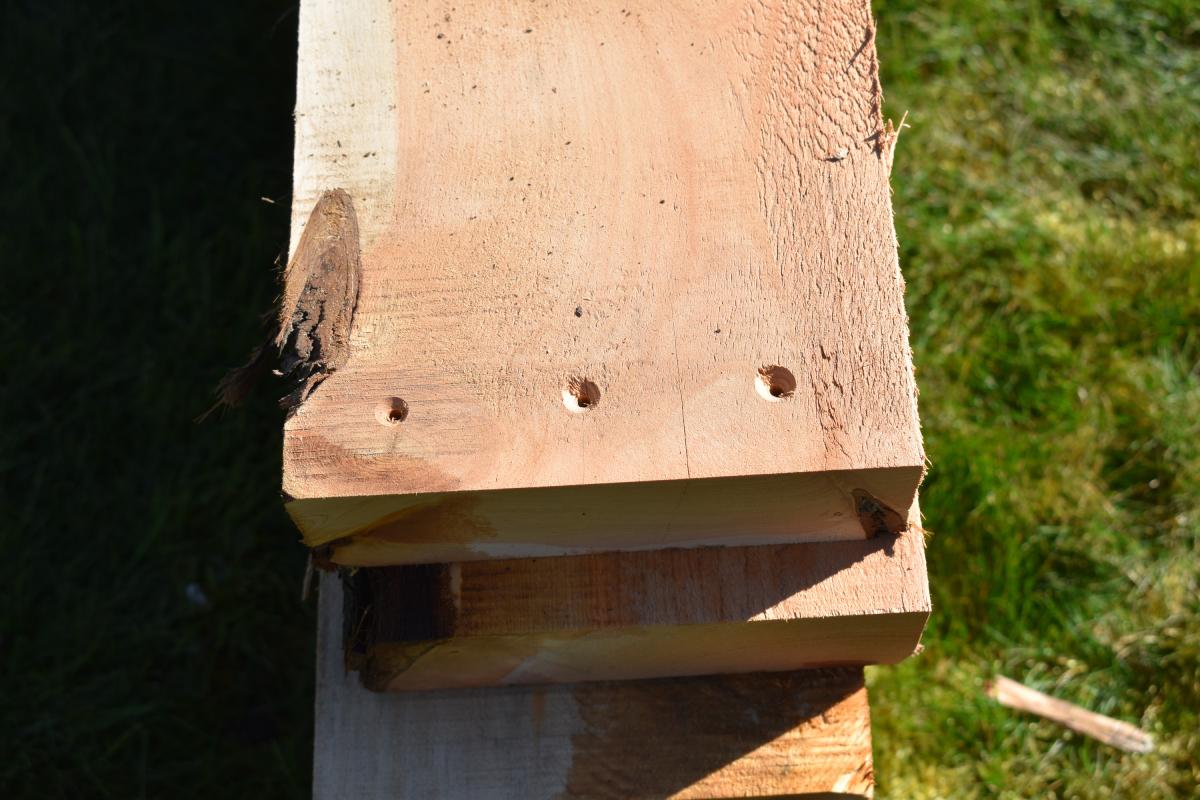
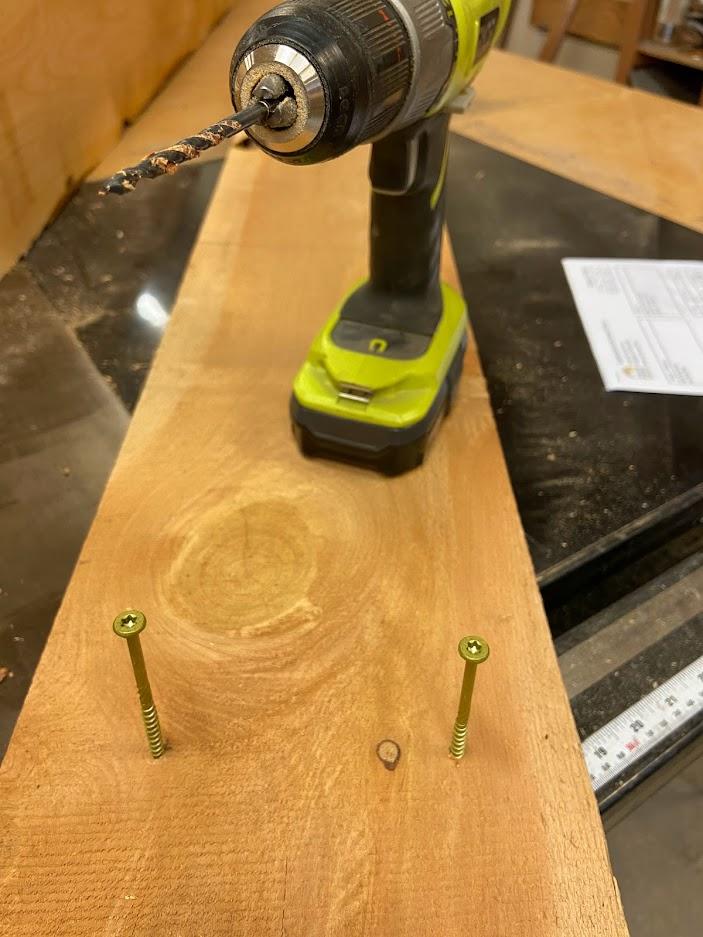
Step 6: Pre-drill pilot holes for the screws.
- Pre-drill three pilot holes, 2 inches in from each end of all 2x6x8 pieces. Pre-drilling the boards will help keep the ends from splitting. Be sure to look at both sides of each board and decide which side you want facing out before drilling.
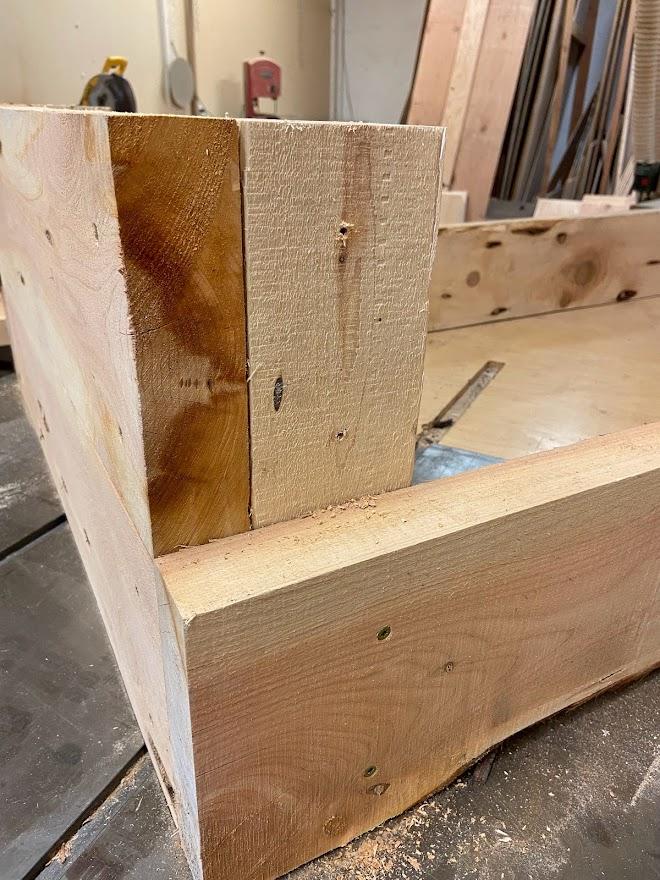
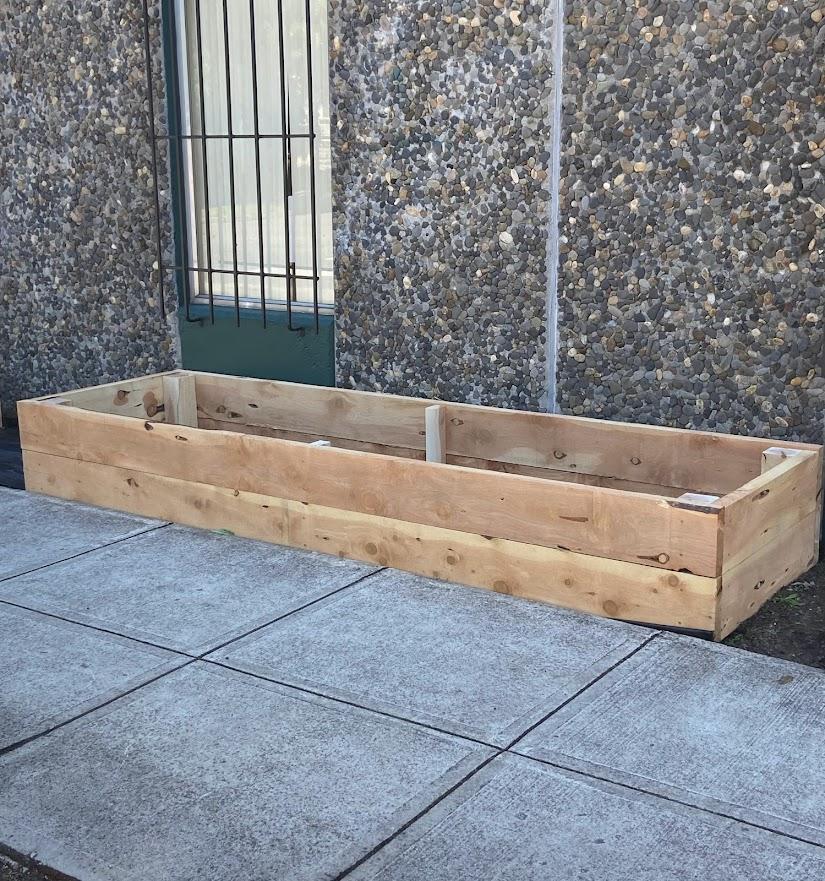
Step 7: Attach the 2x6 boards to the corner posts. This step is best done on a flat, level surface. Start with the shorter 4' long boards and attach flush to the 4x4 posts. Then attach the longer 2x6 boards to the posts, flush to the edge of the shorter 2x6 piece. Use your speed square to make sure the boards are set at square, 90 degree angles before fastening.
Stack second row of 2x6 onto first and secure to corner posts in the same manner. A helper or a set of quick clamps are handy to hold the boards in place while being fastened to the posts. Pre-set the screws in each pre-drilled hole beforehand is also a worthwhile pro-tip. If the 2x6x8 boards are slightly bowed or uneven in the middle, straighten them out by securing with extra support piece in the middle of each side of the box or by using Simpson strong ties.
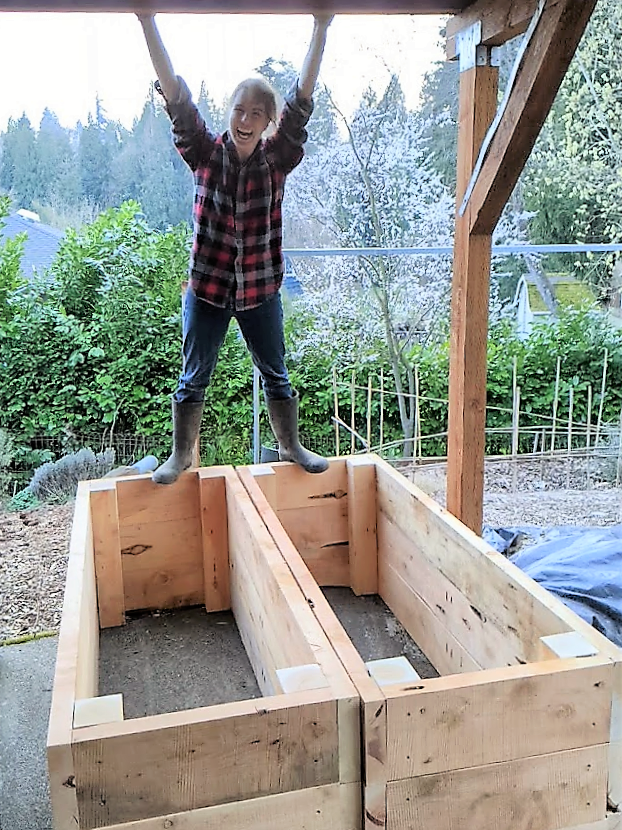
Step 8: Move your garden box to its new home. This is best done with two people. Be sure to LEVEL your box BEFORE filling with dirt. Line the bottom with cardboard to suppress weeds.
Step 9: Fill the garden box with nutrient rich dirt. Your favorite nursery will have advice for how much bulk or bagged soil to buy. This 4'x8'x12" garden box holds a maximum of 32 cubic yards.
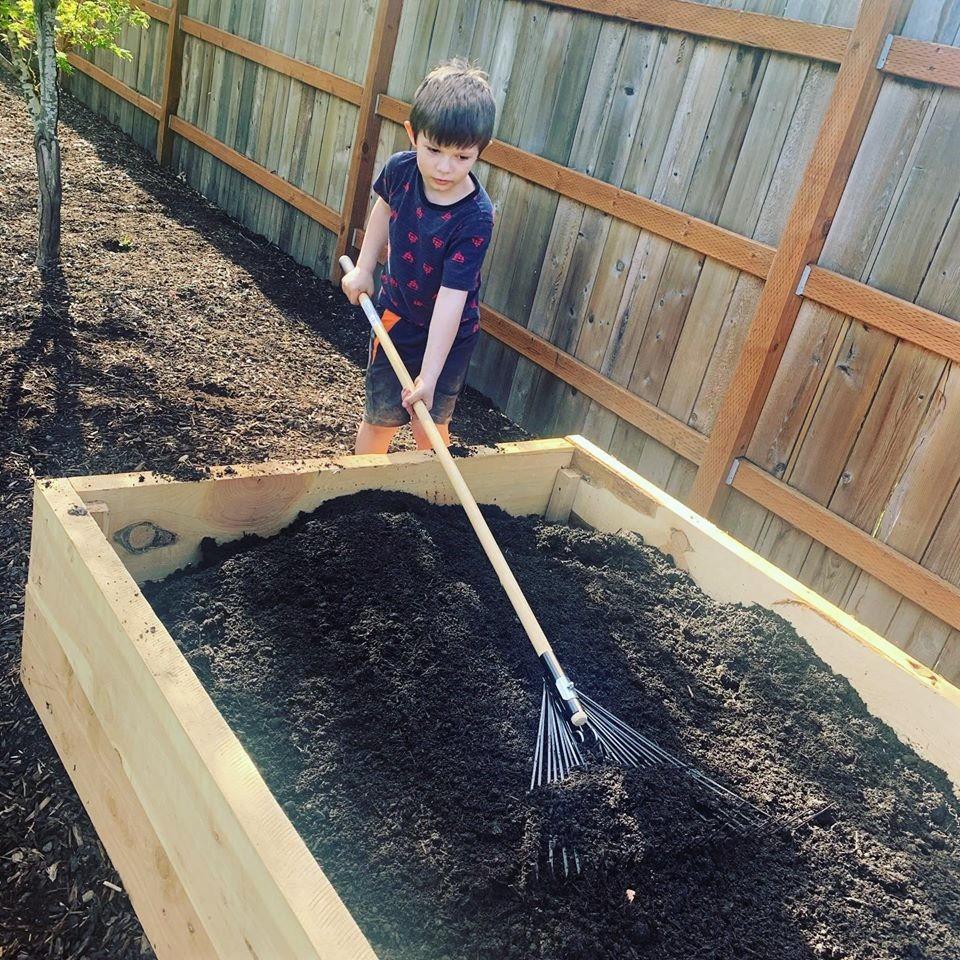
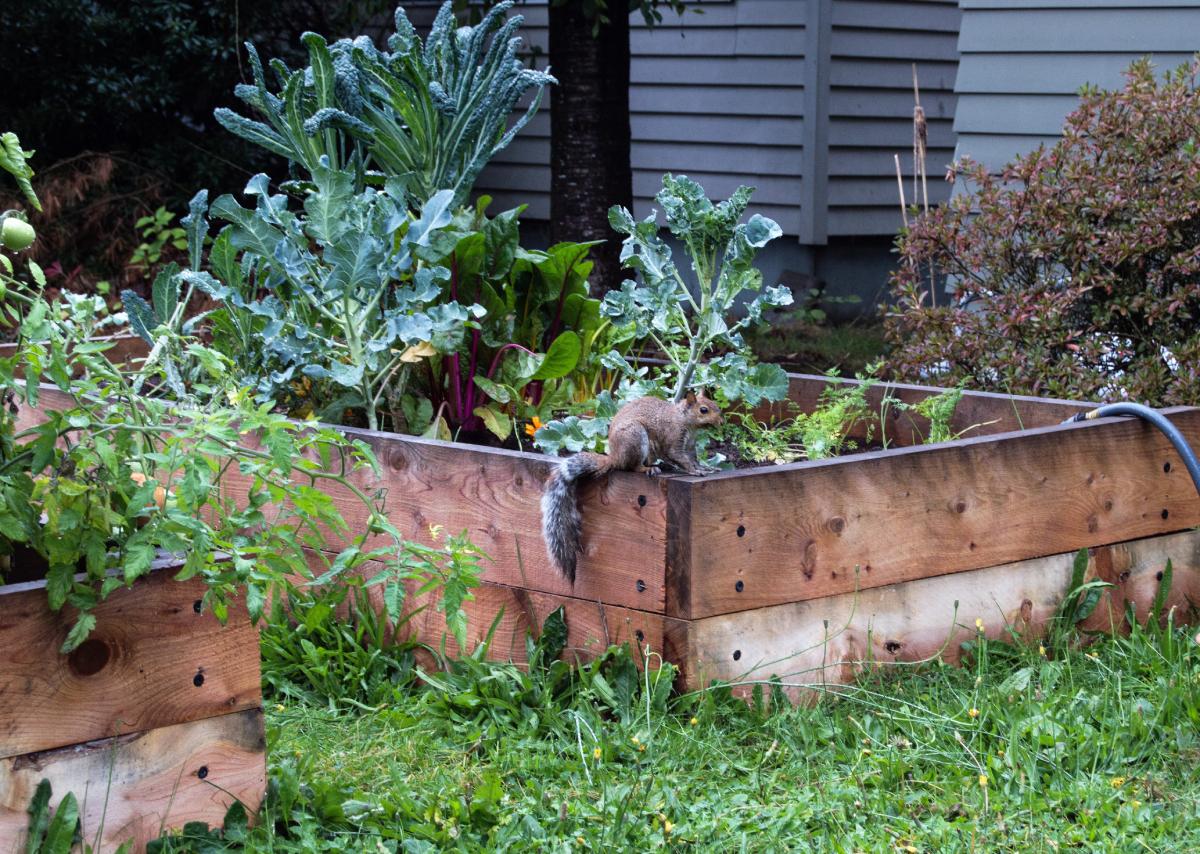
Step 10: PLANT!!!!! Fill your new garden box with the veggies you love to eat, flowers to attract pollinators and repel pests, and your favorite herbs to spice things up in the kitchen. Enjoy the fruits of your labor for decades to come!

Project Support
Find local sustainable wood products in Portland Oregon

Our Why
We exist to promote Good Wood in the Pacific Northwest and beyond
Sustainable Northwest Wood
2701 SE 14th Ave.
Portland, OR 97202
Monday - Friday
8am to 5pm

© 2025 Sustainable Northwest Wood

Our nonprofit parent company is Sustainable Northwest